Image Optimization for the Modern Web
Responsive Techniques, Next-Gen Formats (WebP, AVIF), and Automation for Web Performance
You might already know this or heard similar stuff that I’m going to write in the introduction section, but I need to write an introduction so here goes —
Optimizing images is critical because images often make up the largest portion of a page’s weight (around 60–70% on average). Large, uncompressed images slow down page loads: for example, if a page takes over 3 seconds, nearly 40% of users will abandon it.
Faster image delivery also translates into better page speed, higher rankings, and improved user satisfaction. In short, image optimization improves load times, boosts SEO, and enhances user experience.
While this article contains code examples, I’m sure the general advice around image formats, sizes and workflows can benefit designers and content managers too.
Now, to the meat of the article.
Responsive Images
Modern websites must serve images to many devices and screen sizes. Responsive images ensure each user gets an appropriately sized image. In HTML you use the srcset and sizes attributes (or the <picture> element) to list multiple image files.
<img> element attributes: srcset, sizes and alt
<img
  srcset="small.jpg 480w, medium.jpg 800w, large.jpg 1200w"
  sizes="(max-width: 600px) 480px, 800px"
  src="large.jpg"
alt="A scenic mountain view">- The
srcsetattribute lists image URLs with their intrinsic widths (e.g.480wmeans 480 pixels wide). - The
sizesattribute tells the browser how much space the image will take (e.g. “use 480px image when viewport ≤600px, otherwise 800px”). - The browser chooses the best image to load for the current screen resolution.
- Always include a plain
srcas a fallback (browsers that don’t supportsrcsetwill use it) and a meaningfulalttext.
According to Google, using srcset and sizes lets sites deliver the right image size for each device. It’s also crucial to set image dimensions or CSS aspect ratios to avoid layout shifts. For example:
<img src="logo.png" width="200" height="100" alt="Company logo">This reserves space while loading.
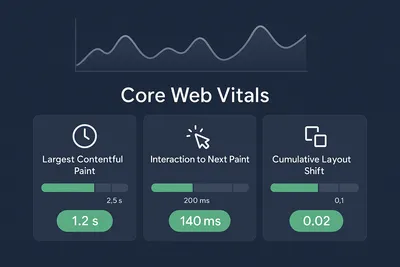
bonusSetting size alone to reserve space will also reduce layout shifts - which means better web vitals performance - and that means better page rank and user experience!
Read more about this in my article Core Web Vitals: Real-World Optimization Strategies
<picture> and <source> elements
For more control, wrap multiple <source> tags in a <picture> element. This lets you serve different file types or resolutions.
For example, you might offer an AVIF and WebP version, with a JPEG fallback like this:
<picture>
  <source type="image/avif" srcset="image.avif">
  <source type="image/webp" srcset="image.webp">
  <img src="image.jpg" alt="A beautiful landscape">
</picture>
The browser picks the first <source> it supports. This is useful for next-gen formats or art direction changes.
noteGoogle’s guidance notes that
<picture>provides a fallback for older browsers and enables new formats with graceful degradation. Always include an<img>with asrcinside<picture>as the ultimate fallback.
Next-Generation Image Formats
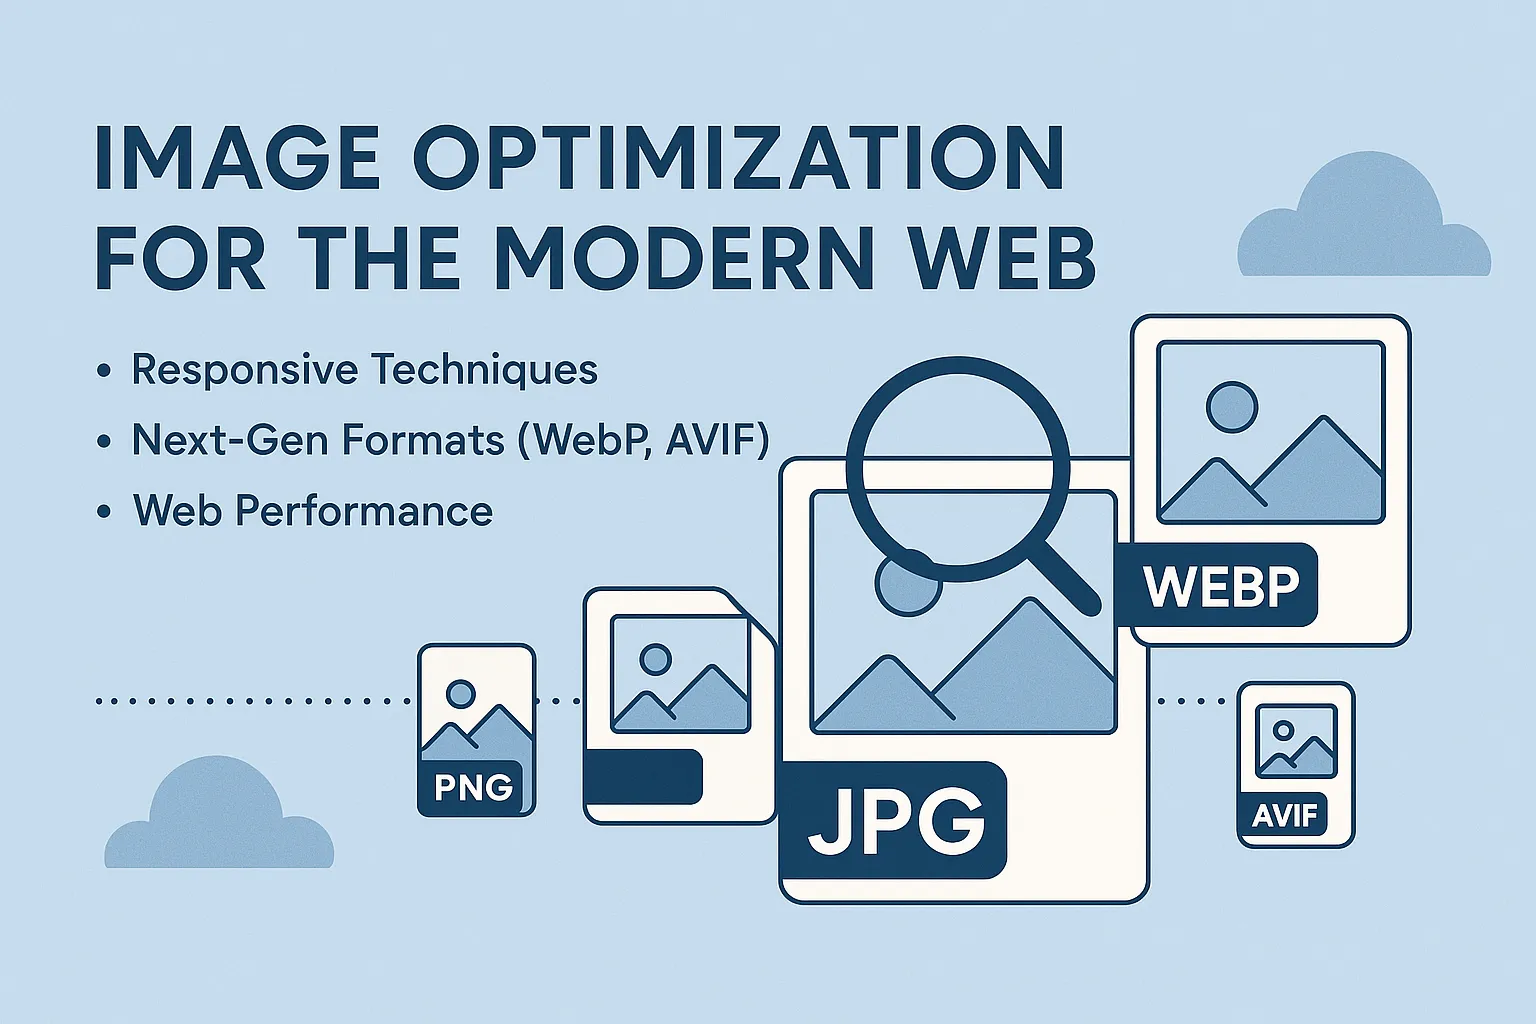
New formats like WebP and AVIF offer much better compression than JPEG or PNG at similar quality. In general, WebP images can be 25–34% smaller than JPEGs, and AVIF can be even more efficient (often 50% smaller than JPEG).
The tradeoff is encoding/decoding speed and compatibility.
Fortunately, browser support for WebP and AVIF is now widespread. Google Chrome, Firefox, Edge and Safari (16+) all support WebP; AVIF support is “almost as well supported as WebP”. You can serve these formats using <picture> as shown above.
Serving WebP, AVIF and JPEG using <picture>
<picture>
  <source srcset="photo.avif" type="image/avif">
  <source srcset="photo.webp" type="image/webp">
  <img src="photo.jpg" alt="A city skyline at sunset">
</picture>
Here the browser will try AVIF first, then WebP, then fall back to the JPEG.
This ensures best compression when possible with compatibility for all users.
importantAlways keep a standard JPEG/PNG fallback, because a small number of old browsers still can’t decode WebP/AVIF. This will ensure maximum browser compatibility when it comes to images.
Other next-gen formats exist (like JPEG XL, JPEG 2000), but they have poor support. For example, Chrome removed JPEG XL support recently, so it’s not recommended despite its technical advantages.
Optimization Techniques
Besides format and responsiveness, apply these practical optimizations:
Compression (Lossy vs Lossless). Use lossy compression (e.g. JPEG quality 70–80%, WebP/AVIF lossy) for photographs and images with many colors. This greatly reduces size at minor quality loss. For flat graphics (icons, logos) use lossless or simpler formats (PNG or SVG) to retain sharp edges. Tools like ImageMagick or command-line utilities can adjust quality. For example:
magick input.jpg -strip -quality 75 output.jpgThis strips metadata and recompresses to 75% quality.
tipDepending on the image type, you can go as low as you want as long as it doesn’t reduce image qualiy.
Lowest I remember doing is 10%!
Resize to correct dimensions. Don’t serve a 4000px-wide image if it’s displayed at 800px. Use server-side or build-time scripts (e.g. ImageMagick, Sharp) to resize images to needed sizes, or generate multiple sizes for
srcset. Always set the HTML/CSS width and height or aspect-ratio so the layout reserves space, avoiding layout shifts.A lot of SSG and SSR frameworks like Gatsby, Astro and even frontend libraries like React have packages that can do that in the build time and take care of everything for you. So don’t worry about it!
Lazy Loading. Defer offscreen images with
loading="lazy"in<img>tags.For example:
<img src="gallery-photo.jpg" alt="Gallery photo" loading="lazy">This tells the browser to wait to load the image until it nears the viewport. Native lazy loading is supported in most modern browsers (Chrome, Firefox, Safari 16+, Edge), covering ~94% of users.
importantDo not lazy-load above-the-fold or LCP images, as this can harm performance.
SVG for vectors. For logos, icons, or any images composed of shapes and text, use SVG. SVG files are usually very small, infinitely scalable, and maintain sharpness on all devices. Embed SVG inline or via
<img>withalttext. Remember to provide a<title>or<desc>inside the SVG for accessibility if it’s complex.Content Delivery & Caching. Use a CDN to serve images globally, and set appropriate cache headers (e.g. long
max-age) so repeat visits reuse the optimized images.
Tools & Compression Services
There are many tools to optimize images. As a developer or designer, you may have heard of some already:
- ImageMagick/GraphicsMagick: powerful CLI tools (e.g.
convertormagick) to batch compress and transform images. - Sharp (Node.js): a popular high-speed library that can resize and convert images in build scripts (supports JPEG, PNG, GIF, WebP, AVIF, SVG, etc).
- Squoosh: a web app (and experimental CLI) developed by GoogleChromeLabs that applies modern codecs (MozJPEG, WebP, AV1) for high-quality compression.
- Online services: TinyPNG, ImageOptim, Cloudinary, etc. often provide APIs or integrations.
- Build tools/plugins: Many frameworks and bundlers (Next.js, Gatsby, Webpack, etc.) have plugins for automatic image processing.
These tools can be integrated into your CI/CD pipeline. For example, you can run a script or GitHub Action on each commit to compress new images.
Automating ensures that every image checked into version control is optimized before deployment.
Accessibility Best Practices
Good image usage must also be accessible and semantic:
Alt Text: Always include descriptive
alttext. Screen readers rely on thealtattribute to convey the image’s meaning. Alt text is also used by search engines to understand images. For example:`<img src="cat.jpg" alt="Orange tabby cat napping">`tipIf an image is purely decorative, use an empty alt (
alt="") so it is skipped by assistive tech. Avoid stuffing keywords into alt text – keep it meaningful and concise.Captions and
<figure>: If an image conveys complex information (like a chart or photo needing explanation), wrap it in<figure>with a<figcaption>for a caption. This provides context.<figure> <img src="chart.png" alt="Bar chart of sales over time"> <figcaption>Yearly sales have doubled in the last 5 years.</figcaption> </figure>Images of Text: Avoid embedding important text in images. Text in images is not accessible (screen readers can’t read it) and may violate WCAG 1.4.5. If you must overlay text on a photo, ensure very high contrast (WCAG recommends a contrast ratio of at least 4.5:1 for normal text) and consider a semi-transparent background behind text. In general, use real text or SVG text whenever possible rather than images of text.
Color and Contrast: Ensure any information conveyed by color is also available textually or via high contrast. If an image relies on color differences (like a map legend), check that it’s still perceivable by users with color blindness.
By following semantic markup and WCAG guidelines (like providing alt, using captions, and ensuring contrast), images will be both performant and accessible to all users.
Common Pitfalls and Troubleshooting
Over-compression: Reducing quality too far causes visible artifacts (blockiness, blurring). Always test the result. Aim for the smallest file without noticeable quality loss.
Missing Dimensions: Forgetting to set width/height on
<img>can cause layout shifts (the page jumps as images load). Always specify or reserve space.Browser Fallback Issues: Relying on a next-gen format without a fallback can break images in old browsers. Likewise,
<picture>without a final<img src="">fallback violates HTML standards.Lazy-load Misuse: Lazy-loading large above-the-fold images (like a hero banner) will delay them unnecessarily. Only lazy-load images that are offscreen on initial load.
Incorrect
sizesMedia Conditions: If yoursizesattribute doesn’t match your CSS/layout, the browser might download an image too large or too small. Double-check the CSS breakpoints you use.Forgetting SEO Metadata: For images that drive traffic, also use descriptive filenames,
titleattributes or structured data (per Google’s guidelines) to improve discoverability.Not Testing on Real Devices: Emulators can mislead – test on actual devices (mobile, tablet, desktop) to ensure images are crisp (retina vs non-retina) and load quickly.
Wrapping it Up
In this article, I’ve covered some fundamental ways to optimise the images in your websites but it can also be practiced in general where you might want to reduce the bundle size. (think mobile applications!) I have followed these for web and mobile applications to reduce the overall bundle size too.
If you follow the guidance in this article, based on my experience I’m sure you’re all set for providing a great user experience with regards to the images hosted on your website.
Have a good one!
