Advanced PWA Playbook: Offline, Push & Background Sync
Ship resilient PWAs with pragmatic service worker, IndexedDB, and push notification patterns.

Progressive Web Apps (PWAs) stopped being “nice to have” the day your users expected your site to behave like a flight-ready native app. If the experience collapses the moment the elevator doors close, trust evaporates.
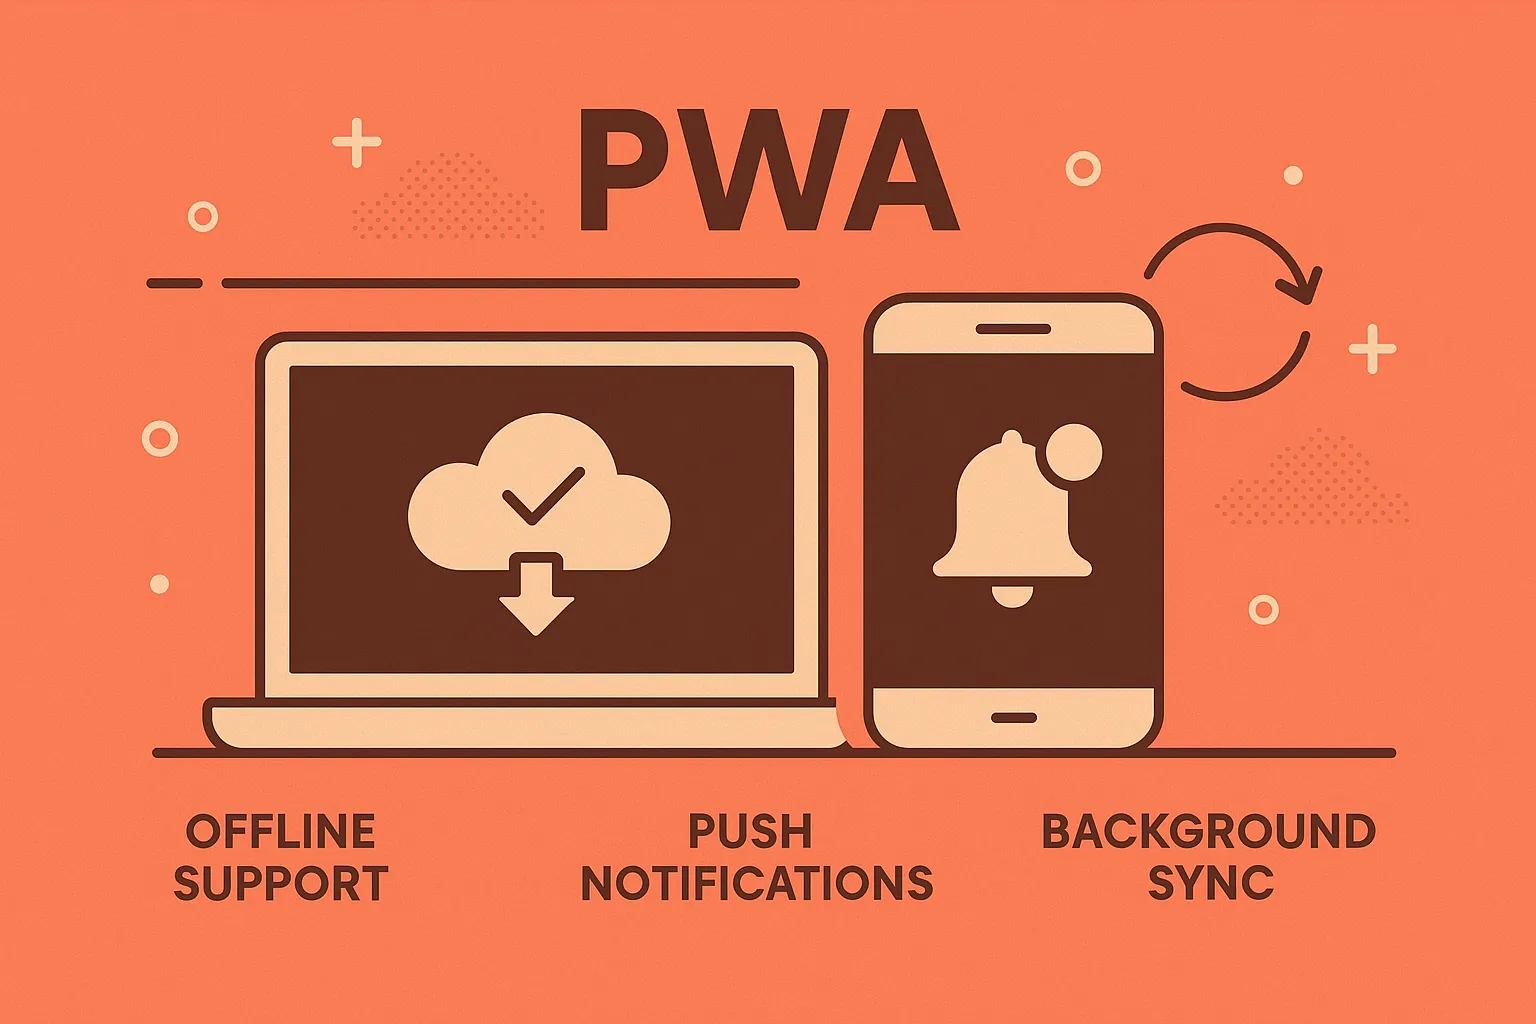
This guide focuses on the three power features that decide whether your PWA feels unbreakable — offline caching, background sync, and push notifications — using nothing more than vanilla JavaScript and the web platform primitives you already ship.
Here’s the journey we are going on today:
- Lay down a production-grade service worker foundation without bloating the bootstrap
- Pick the right caching strategy per asset so speed and freshness live together
- Capture user intent offline with IndexedDB, then replay it using Background Sync
- Earn notification permission, wire up VAPID keys, and ship push alerts that actually matter
TL;DR / Implementation Map
| Capability | UX Goal | Core APIs | Files to Touch |
|---|---|---|---|
| Offline caching | Instant load + fallback | ServiceWorker, CacheStorage | app.js, service-worker.js |
| Structured offline data | Queue writes until online | indexedDB, Background Sync | offline-db.js, service-worker.js |
| Re-engagement | Notify users when they’re away | PushManager, Notification | Client bootstrap, server push handler |
tipThink of PWAs as “resilient web apps”. Every decision below should answer: What happens if the network, tab, or device disappears right now?
Prerequisites & Architecture Snapshot
Before we start turning dials, lock in the boring-but-essential constraints:
- Serve the site over HTTPS (localhost is fine for dev). Service workers refuse to register on insecure origins.
- Ship a tiny bootstrap (
app.js) that registers the worker as soon as the page is interactive. No frameworks, no waiting. - Version every cache (
static-v1,dynamic-v1, etc.) so you can evict stale assets without guesswork. - Keep business logic in modules (e.g.,
offline-db.js) and import them inside the worker so one file doesn’t balloon past 1,000 lines.
// app.js
if ('serviceWorker' in navigator) {
  window.addEventListener('load', () => {
    navigator.serviceWorker.register('/service-worker.js')
      .then(reg => console.log('SW registered:', reg.scope))
      .catch(err => console.error('SW registration failed:', err));
  });
}importantKeep the registration lightweight. Anything that blocks first paint (including large polyfills) defeats the point of “fast, resilient starts.”
Service Worker Setup
The service worker is your control tower. It intercepts every request, owns cache lifecycles, listens for sync/push events, and can wake up even when the user closed all tabs. Treat it like infrastructure, not an afterthought.
| Lifecycle event | What to do |
|---|---|
install | Precache the shell (HTML, CSS, JS, essential images). |
activate | Clean up old caches, claim clients. |
fetch | Serve from cache, network, or hybrids depending on the request. |
sync | Replay queued work. |
push / notificationclick | Display and handle notifications. |
const STATIC_CACHE = 'static-v3';
const DYNAMIC_CACHE = 'dynamic-v2';

self.addEventListener('install', event => {
  event.waitUntil(
    caches.open(STATIC_CACHE).then(cache =>
      cache.addAll(['/', '/offline.html', '/styles.css', '/app.js', '/logo.png'])
    )
  );
  self.skipWaiting();
});

self.addEventListener('activate', event => {
  event.waitUntil(
    caches.keys().then(keys =>
      Promise.all(keys.filter(key => key !== STATIC_CACHE && key !== DYNAMIC_CACHE).map(key => caches.delete(key)))
    )
  );
  self.clients.claim();
});noteKeep your cache names descriptive (
static-shell-v3,api-v1) so prod debugging is a glance, not a guessing game.
tipWhen you lean on network-first strategies for navigations, enable
navigationPreloadduringactivateso the browser can start fetching HTML while the worker boots. It’s a free latency win and plays nicely with precached shells.
Offline Caching Strategies
Not every request deserves the same treatment. Decide what matters most—speed, freshness, resiliency—then pick the strategy that matches the risk profile.
1. Cache-first for critical shell
Use this for your core HTML, CSS, JS, and any icons that must appear instantly, even if the network is toast.
self.addEventListener('fetch', event => {
  if (event.request.mode === 'navigate') {
    event.respondWith(
      caches.match(event.request).then(cacheRes =>
        cacheRes || fetch(event.request).catch(() => caches.match('/offline.html'))
      )
    );
    return;
  }
});
Fast, predictable startup. Pair with an “Update available” toast when you ship new assets.
2. Network-first for API data
Great for JSON coming from your API or headless CMS. You get fresh data when online and a fallback when the server flakes out.
self.addEventListener('fetch', event => {
  if (event.request.url.includes('/api/')) {
    event.respondWith(
      fetch(event.request)
        .then(res => {
          const clone = res.clone();
          caches.open(DYNAMIC_CACHE).then(cache => cache.put(event.request, clone));
          return res;
        })
        .catch(() => caches.match(event.request))
    );
  }
});
3. Stale-while-revalidate for assets (images, JSON, fonts)
Ideal for assets that can safely serve slightly older bytes while a fresh copy streams in behind the scenes.
async function staleWhileRevalidate(request) {
  const cache = await caches.open(DYNAMIC_CACHE);
  const cached = await cache.match(request);
  const networkPromise = fetch(request).then(response => {
    cache.put(request, response.clone());
    return response;
  });
  return cached || networkPromise;
}

self.addEventListener('fetch', event => {
  if (event.request.destination === 'image' || event.request.url.endsWith('.json')) {
    event.respondWith(staleWhileRevalidate(event.request));
  }
});bonusCombine strategies: precache the app shell, run network-first for mutating APIs, and fall back to stale-while-revalidate for supportive assets. You get speed and freshness.
Cache hygiene checklist
- Version caches and delete old ones during
activate. - Cap dynamic cache size (
cache.keys().then(keys => cache.delete(keys[0]))). - Provide
/offline.htmlor/offline.jpgfallbacks for navigations and media. - Surface offline state in the UI (
window.addEventListener('offline', ...)). - Log cache hits/misses to your analytics or RUM backend for a week after rollout. Real user data will tell you if the chosen strategy actually reduced latency.
importantNever let a navigation fail silently. A simple “You’re offline—here’s cached data” message keeps trust intact.
IndexedDB for Offline Data Storage
Cache storage is perfect for Request/Response pairs; IndexedDB is where you stash structured data (draft orders, analytics events, uploads). Wrap the noisy API in a helper so the rest of your app can stay ergonomic.
const DB_NAME = 'myAppDB';
const DB_VERSION = 1;

function openDatabase() {
  return new Promise((resolve, reject) => {
    const request = indexedDB.open(DB_NAME, DB_VERSION);

    request.onupgradeneeded = event => {
      const db = event.target.result;
      if (!db.objectStoreNames.contains('forms')) {
        db.createObjectStore('forms', { keyPath: 'id', autoIncrement: true });
      }
    };

    request.onsuccess = () => resolve(request.result);
    request.onerror = () => reject(request.error);
  });
}

export async function queueForm(data) {
  const db = await openDatabase();
  const tx = db.transaction('forms', 'readwrite');
  tx.objectStore('forms').add({ ...data, queuedAt: Date.now() });
  return tx.complete;
}

export async function readQueuedForms() {
  const db = await openDatabase();
  const tx = db.transaction('forms', 'readonly');
  return tx.objectStore('forms').getAll();
}tipIf raw IndexedDB APIs make your eyes glaze over, reach for a tiny wrapper like
idbor write one yourself. The ergonomic layer matters because you’ll be calling these utilities from the main thread, service worker, and tests.
tipCall
queueForm()inside your fetch catch handler. Users shouldn’t lose their work just because the train entered a tunnel.
Sync data back to the server
async function syncFormsToServer() {
  const items = await readQueuedForms();
  for (const item of items) {
    await fetch('/api/forms', {
      method: 'POST',
      headers: { 'Content-Type': 'application/json' },
      body: JSON.stringify(item)
    });
  }

  const db = await openDatabase();
  const tx = db.transaction('forms', 'readwrite');
  tx.objectStore('forms').clear();
  return tx.complete;
}
Data integrity guardrails
- Store metadata (
queuedAt,retries) to track aging or stuck jobs. - Encrypt sensitive payloads before storing.
- Guard against quota errors by catching
DOMExceptionand prompting the user to clear space.
Background Sync
Background Sync lets you say “send this later” and trust the browser to finish the work once connectivity returns. It’s the safety net between “user tapped submit” and “server finally heard about it.”
export async function registerSync() {
  if (!('serviceWorker' in navigator) || !('SyncManager' in window)) {
    console.warn('Background Sync not supported');
    return syncFormsToServer(); // fallback to immediate retry
  }

  const registration = await navigator.serviceWorker.ready;
  try {
    await registration.sync.register('sync-forms');
    console.log('Background Sync registered');
  } catch (error) {
    console.error('Sync registration failed:', error);
    await syncFormsToServer();
  }
}
Service worker handler:
self.addEventListener('sync', event => {
  if (event.tag === 'sync-forms') {
    event.waitUntil(syncFormsToServer());
  }
});quote“Suppose a user composes an email and presses ‘Send’. In a traditional website, they must keep the tab open… Background sync is the solution to this problem for PWAs.” — MDN
When the API isn’t available, keep the promise manually:
- Retry submissions with
setTimeoutexponential backoff. - Display a “Pending uploads” badge sourced from IndexedDB items.
- Consider the emerging
PeriodicSyncManagerfor scheduled refreshes (Chrome + Android only for now).
noteBrowser reality check: as of late 2025, one-off Background Sync ships in Chromium-based browsers, Firefox keeps it disabled, and Safari still doesn’t implement it. Always wire the immediate retry fallback you see above.
Push Notifications
Push keeps users in the loop even after they close the tab. Nail the timing, then respect the user’s attention. The workflow has three moving parts: permission, subscription, and server delivery.
1. Ask for permission at the right moment
Lead with context—“Want shipping updates?” works better than a silent browser dialog.
async function requestNotificationPermission() {
  if (!('Notification' in window)) return 'unsupported';
  const permission = await Notification.requestPermission();
  if (permission !== 'granted') throw new Error('Permission denied');
  return permission;
}importantNever auto-prompt on first load. Trigger the dialog after the user takes a meaningful action (e.g., “Enable shipment alerts”).
2. Create a push subscription
Once permission is granted, turn it into a subscription tied to your VAPID public key.
function urlBase64ToUint8Array(base64String) {
  const padding = '='.repeat((4 - (base64String.length % 4)) % 4);
  const base64 = (base64String + padding).replace(/-/g, '+').replace(/_/g, '/');
  const rawData = atob(base64);
  return Uint8Array.from([...rawData].map(char => char.charCodeAt(0)));
}

async function subscribeToPush(vapidPublicKey) {
  const registration = await navigator.serviceWorker.ready;
  return registration.pushManager.subscribe({
    userVisibleOnly: true,
    applicationServerKey: urlBase64ToUint8Array(vapidPublicKey)
  });
}
Send the resulting subscription JSON to your backend.
3. Send notifications from the server
On the backend, pair your stored subscriptions with web-push (or your language’s equivalent) and your VAPID key pair.
import webPush from 'web-push';

webPush.setVapidDetails(
  'mailto:you@example.com',
  process.env.VAPID_PUBLIC_KEY,
  process.env.VAPID_PRIVATE_KEY
);

export function sendNotification(subscription, payload) {
  return webPush.sendNotification(subscription, JSON.stringify(payload));
}
4. Handle push + clicks in the service worker
Every push event should surface a notification immediately, then bring the user to the right screen when they tap.
self.addEventListener('push', event => {
  const data = event.data ? event.data.json() : { title: 'Update', body: 'You have a new message.' };
  const options = {
    body: data.body,
    icon: data.icon || '/icons/icon-192.png',
    data: data.url || '/'
  };
  event.waitUntil(self.registration.showNotification(data.title, options));
});

self.addEventListener('notificationclick', event => {
  event.notification.close();
  event.waitUntil(
    clients.matchAll({ type: 'window', includeUncontrolled: true }).then(clientList => {
      const targetUrl = event.notification.data || '/';
      const visibleClient = clientList.find(client => client.url === targetUrl && 'focus' in client);
      if (visibleClient) {
        return visibleClient.focus();
      }
      if (clients.openWindow) {
        return clients.openWindow(targetUrl);
      }
    })
  );
});noteweb.dev reminds us that every push event must show a notification before the promise resolves, otherwise Chrome swaps in its own “This site has been updated in the background” fallback (Push notifications: handling messages).
End-to-End Workflow
Here’s the full loop once everything is wired together:
- Register the service worker on load.
- Precache shell assets in
install, clean caches inactivate. - Route requests through cache-first / network-first / stale-while-revalidate handlers.
- Queue offline submissions in IndexedDB.
- Register Background Sync after each queued write, replay when online.
- Request notification permission contextually, subscribe with VAPID keys, and store the subscription server-side.
- Send pushes from your backend and surface them in the service worker.
Testing & Debugging Checklist
Test like a pessimist and deploy like an optimist:
- Chrome DevTools → Application → Service Workers: simulate offline, push, and sync events.
- Use
chrome://inspect/#service-workersto watch logs even after the tab closes. - Lighthouse “PWA” category checks manifest, HTTPS, and offline availability.
- Verify quota usage via DevTools → Application → Storage.
- Add synthetic monitoring (e.g.,
workbox-windowor custom ping) to detect stale service workers in the wild.
Wrapping up
Advanced PWA capabilities are less about fancy APIs and more about trust: users trust that their work is saved, their data will sync eventually, and important updates will find them.
Pair cache-first rendering with IndexedDB queues, wrap it in Background Sync, and seal the experience with respectful push notifications.
Do that, and your PWA behaves like a native app even when the network misbehaves.
Happy shipping! 🚀


